How To Fix Problems With Mounting Ufs Disk In Windows?
September 22, 2021
Recommended: Fortect
If you’ve mounted a ufs hard drive in Windows on your PC, we hope this blog post can help you.
I think you should be ashamed if you tried direct / own mt. a Windows UFS hard drive that has some sort of third collection (for example, but I found these features are limited … which might not be the case with UFS for Windows creation. So I usually:
a) just boot Linux / xBSD on a dummy system (on a corresponding separate hard drive)
b) Download the Stooge system live from the Linux / xBSD doc.
Then use UFS hard drive access. After simply using content in a compatible data format (such as vfat) or Samba, you can use the Windows SCP client (Cygwin, Putty, etc.) to transfer content to a Windows computer much more than a network copy.
The third, but tricky (as Gollum put it) option is to use a Windows computer outside of the Linux live media, which in many cases can read / write UFS and NTFS.
Unix System (UFS), also known as BSD Fast File System or FFS, is a file system supportingCommonly used by many Unix-like operating systems. This grandfather of file installation was greatly enhanced by Marshall McCusick Kirk and is the standard file community for FreeBSD. In the cross-factor, the image of the root filesystem is actually used as the internal filesystem of the kernel. Then UFS2 was introduced, allowing it to support 64-bit file system structures that experts say Crossmeta cannot mount on Windows.
With Crossmeta FUSE for Windows, there will now be read-only support not only for UFS2, but also for various types of UFS incarnations
sun86, soleil, sunos, 44bsd, ufs2, 5xbsd, hp, nextstep-cd, nextstep, openstep
Create UFS Backup
Using the Crossmeta file system repository and cross-compiling Mingw32 on cxfuse, I was able to quickly run ufs.exe. This assumes the ability to mount all types of UFS volumes on the Windows platform.
- Configuring FUSE Windows for Linux Build Environment
sudo yum install mingw32-gcc mingw32-winpthreads-staticgit identical copy https://github.com/crossmeta/cxfuse
- Set up a job for the region that generates the UFS file system code, and if you want to rewhip the meta-branch.
mkdir workwork on CDgit clone https://github.com/crossmeta/filesystemsgit cart Crossmeta - Create ufs.exe as follows and use Makefile .mingw
cd-filesystems / filesystems-c / unixfs / ufsFUSE_DIR = ~ / cxfuse make -f Makefile.mingw
- EXE file ufs.exe can be run on almost any Windows with FUSE.
The
How Do I Host Crossmeta UFS On Windows?
- Install Crossmeta FUSE with the latest package file.
- Make sure the drivers are loaded
c: Programs crossmeta> service_crossmeta files crossmeta> startc: net run the cxfuse program
- Start the FUSE ufs.exe program.
c: Program Files crossmeta> ufs.exe --dmg
--type ufs2 / mnt - The ufs2 sound level is up and write protected data is available in the Windows v: mnt folder.
Please and follow us as we are:
Recommended: Fortect
Are you tired of your computer running slowly? Is it riddled with viruses and malware? Fear not, my friend, for Fortect is here to save the day! This powerful tool is designed to diagnose and repair all manner of Windows issues, while also boosting performance, optimizing memory, and keeping your PC running like new. So don't wait any longer - download Fortect today!

The Unix Document System (UFS), also known as BSD Fast File System or FFS, is a file system supported by many Unix-like operating systems. This grandfather of the file unit was greatly enhanced by Marshall McCusick Kirk and is the standard file practice for FreeBSD. The root filesystem image can also be used in Crossmeta drivers as FFS, backend. It is known that bit file system structures like Crossmeta cannot be mounted on Windows.
Regarding Crossmeta FUSE for Windows, there is certainly read-only support not only for UFS2, but for various remaining incarnations of UFS
Create UFS Backup
With your Crossmeta filesystem project repository and Mingw32 cross-compiled to cxfuse, I could very well migrate ufs.exe quickly. This will mount all UFS volumes available on the Windows platform.
- Configuring FUSE in a Windows Build Environment on Yum Linux
sudo uses mingw32-gcc mingw32-winpthreads-staticgit clone https://github.com/crossmeta/cxfuse
- The config works with the partition that generates the UFS filesystem code and just switches to the Crossmeta branch.
mkdir workwork on CDgit replica https://github.com/crossmeta/filesystemsgit checkout crossmeta - Create ufs.exe with Makefile .mingw as follows.
cd-filesystems / filesystems-c / unixfs / ufsFUSE_DIR = ~ / cxfuse reason -f Makefile.mingw
- ufs executableThe .exe can be run on any Windows running Crossmeta To Fuse.
How Do I Mount UFS On Windows?
- Install Crossmeta FUSE from the last created file.
- Make sure the drivers load normally.
c: Programs crossmeta> service_crossmeta files crossmeta> startc: program net start off cxfuse
- Start the FUSE ufs.exe program.
c: Programs crossmeta> ufs.exe --dmg
--type ufs2 / mnt - The ufs2 volume will then be mounted and your data will be available on the market in the write-protected Windows v: mnt folder.
Download this software and fix your PC in minutes.
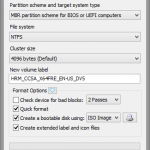
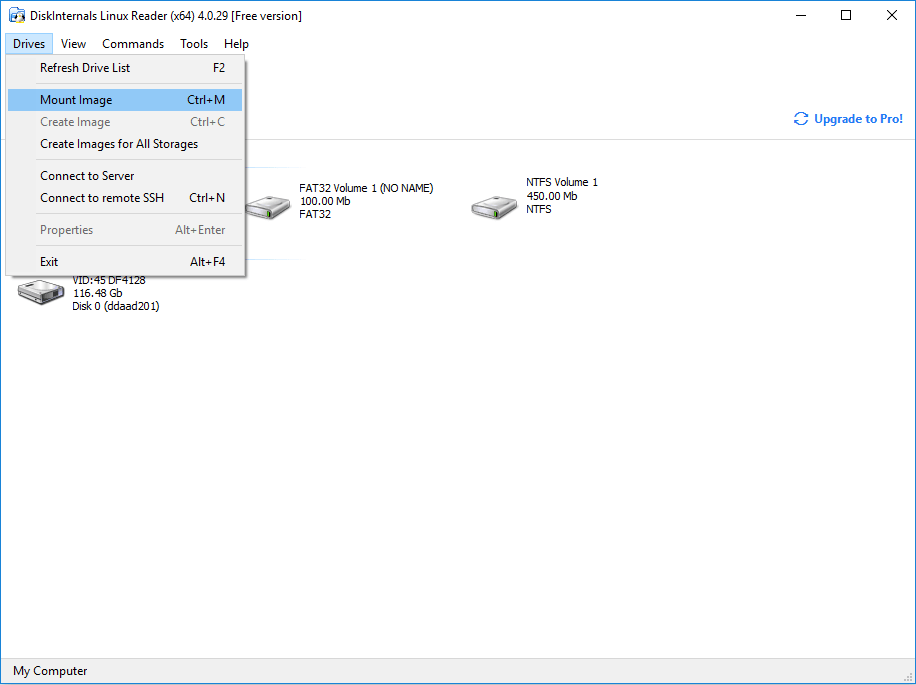
Download DiskInternals Linux Reader ™.Install the software on every disc you can understand.After installation, click on “Disks”.Then fly to Mount Image.Select “Container” and click “Next”.Select the drive and continue; from here the process is carried out on autopilot.
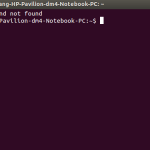
Step 1: Type sudo ntfsfix / dev / sda3, press Enter as shown in the image below, then you will be prompted for the system password, enter the password and press Enter again. Step 2. The processing will probably take a few seconds, and at the end you will see this particular message such as “NTFS partition was unmounted successfully” as shown in the photo below.
Mount Ufs Schijf In Windows
Ufs Festplatte In Windows Mounten
Monter Le Disque Ufs Dans Windows
Montare Il Disco Ufs In Windows
Windows에서 Ufs 디스크 마운트
Montar Disco Ufs No Windows
Zamontuj Dysk Ufs W Systemie Windows
Montar Disco Ufs En Windows
Montera Ufs Disk I Windows
Smontirovat Ufs Disk V Windows