How Do I Fix Ubuntu Kernel Issues In The Manual?
December 4, 2021
Recommended: Fortect
You may come across an error code pointing to the Ubuntu Kernel Guide. There are several steps you can take to fix this problem. We will do it shortly.
Many users interested in developing their own kernel usually do this because they have Ubuntu installed on their system, and these companies want to put in a little kernel effort for this configuration. In many cases, the first thing the user wants to do is do some customization of the kernel transformation.
The purpose of this network is to provide the user with a minimum amount of information so that both can accomplish the task of simply changing the kernel type, building and using it. It is not often considered a definitive guide to Ubuntu kernel development.
Create Environment
If you haven’t installed the kernel on your personal system yet, you will need several packages before you can successfully compile. You can install it via:
sudo apt-get build-dep linux linux-image - $ (uname -r)
Unfortunately, not all required dependencies are usually installed. The current version of Disco Goofy requires additional packages to be deployed.
sudo mount apt-get libncurses-dev gawk flex bison openssl libssl-dev dkms libelf-dev libudev-dev libpci-dev liliberty-dev autoconf
If you and your family want to build Git, mouthUpdate it from:
sudo include apt-get git
The above command requires your personal system to contain valid deb-src lines in /etc/apt/sources.list . For example from Disco Dingo you should have:
deb-src http://archive.ubuntu.com/ubuntu disco maindeb-src http://archive.ubuntu.com/ubuntu disco-updates main
Obtaining All Source Code For The Ubuntu Version
It takes several steps to get the original kernel. There are still two main routes documented here.
Recommended: Fortect
Are you tired of your computer running slowly? Is it riddled with viruses and malware? Fear not, my friend, for Fortect is here to save the day! This powerful tool is designed to diagnose and repair all manner of Windows issues, while also boosting performance, optimizing memory, and keeping your PC running like new. So don't wait any longer - download Fortect today!

If you have any version of Ubuntu installed and want to make changes to that particular kernel installed on the system, use the apt-get method (detailed below) to get the sources.
However, if you want to get the most recent starting points for your version of Ubuntu and make changes to them, use the git method (detailed below) to keep the sources positive.
Apt-get
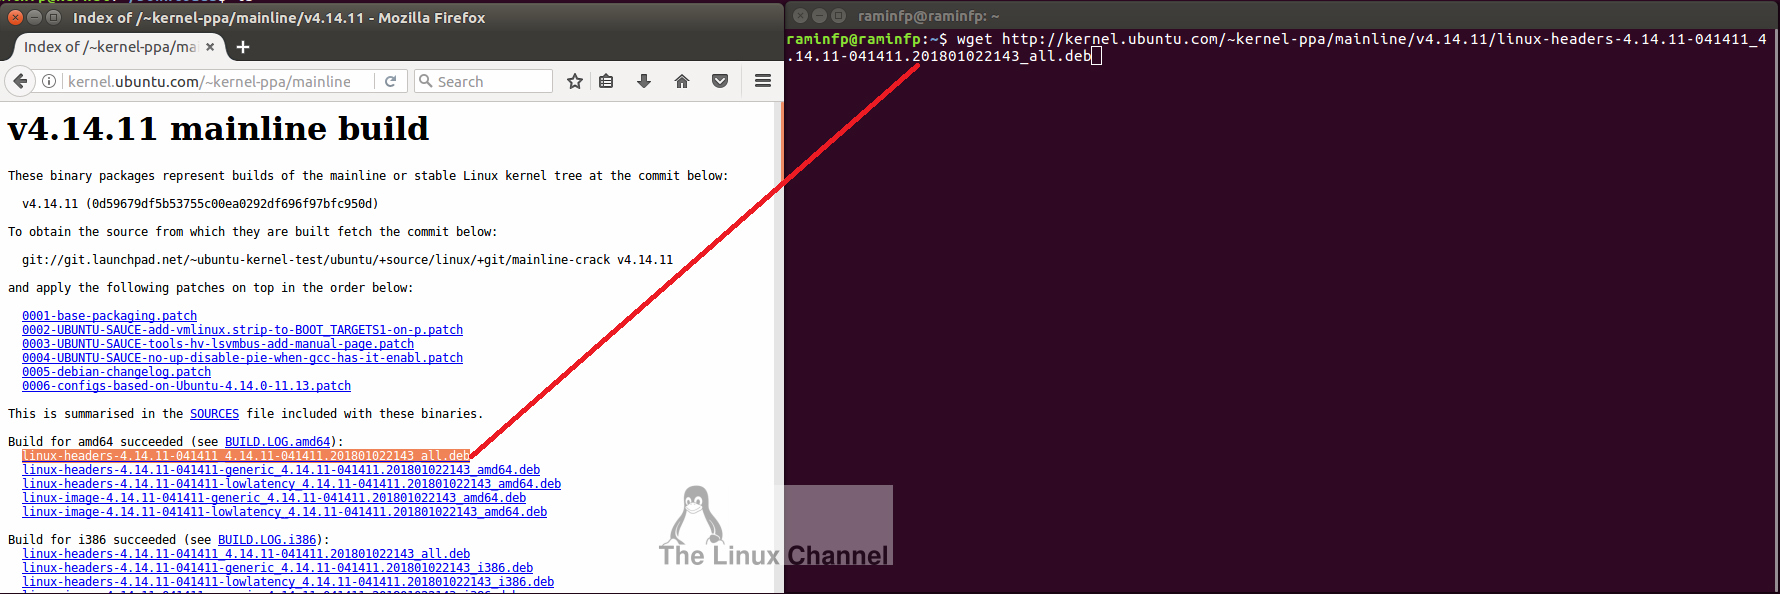
The original standard that generated the binary cogwheel can usually be invoked with the command apt-get source
apt-get source linux-image-unsigned - $ (uname -r)
Git
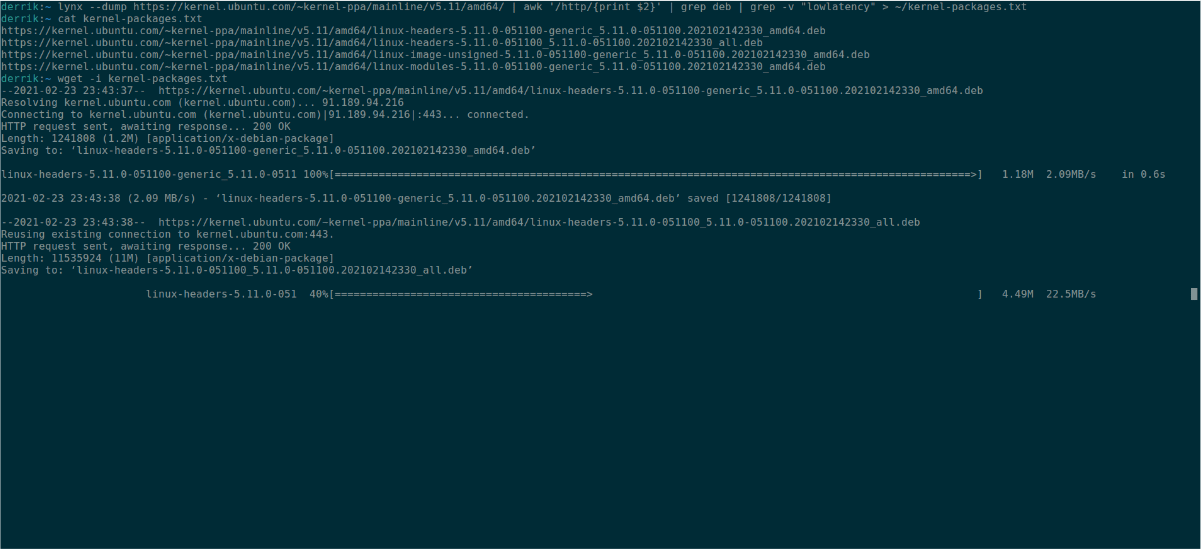
All specific Ubuntu kernel sources are managed in git . The source code for the release is maintained in its Acquire Git repository at kernel.ubuntu.com . To keep a local copy, you can simply git-clone the repository for the specific version you are interested in, as shown below.
git clone git: //kernel.ubuntu.com/ubuntu/ubuntu-
.git
git duplicate git: //kernel.ubuntu.com/ubuntu/ubuntu-disco.git
Change Configuration
This step can also be skipped if configuration records are not required. Then the build process will probably use a configuration made up of various subconf files. The easiest way to edit a page is to do the following:
chmod a + x debian / ruleschmod a + x debian / scripts / *chmod a + x debian / scripts / misc / *LANG = C fakeroot debian / custom rulesLANG = C fakeroot debian / rules editconfigs # Buyers must complete all of them (Y, Exit, Y, Exit ..) or receive the corresponding configuration complaint later
This takes our own current configju for each identified architecture / variant and calls menuconfig to edit the config file. Chmod is needed because the way the original package was created loses our executable bits in scripts.
To make your kernel “newer” than the standard Ubuntu kernel you are based on, consider using the local version modifier. Something like “+ test1” is added to the first version number via the debian.master / changelog file before compiling it. This helps identify your good kernel while it is running, as it also appears in uname -a . Keep in mind that if the new Ubuntu kernel is newer than your entire kernel (which needs to be rebuilt), it will need to be managed during the upgrade. NOTE: Do not try to use CONFIG_LOCALVERSION as it is _time_ for hobbies.
Building The Kernel
Building the kernel is undoubtedly very simple. Change the working index to the root directory of the kernel or source tree, then run some of the following commands:
LANG = C fakeroot debian / clean rules# build faster:LANG = C fakeroot debian/ rules binary headers binary-generic binary-perarch# If you want Linux tools and a low latency kernel, do the following:LANG = C fakeroot debian / binary rules
If the build is successful, a set of three .deb binaries will be created in the directory above the web root of the build. For example, after building a great kernel version with “4.8.0-17.19” on the fantastic amd64 system. These three (or four) .deb packages. will produce:.
CD ...ls * .deb linux-4.8.0-17_4.8.0-17.19_all.deb headers linux-4.8.0-17-generic_4.8.0-17.19_amd64.deb headers linux-image-4.8.0-17-generic_4.8.0-17.19_amd64.deb
You can also find an additional Linux package in later versions, which you should generally install if you close it too.
Test The New Kernel
Install three packages (on your build system or just another target system) with dpkg -i, then reboot:
sudo dpkg -i linux * 4.8.0-17.19 * .debsudo reboot
Debug Symbols
Sometimes the idea of creating celebrities is also useful for troubleshooting. It will certainly take two more steps. First, pkg-config-dbgsym needs to be activatedinstall. The second time you run the core binaries * you will need to set skipdbg = false.
sudo apt-get install pkg-config-dbgsymLANGUAGE = C fakeroot cleanLANG = C debian / fakeroot debian rules / binary header rules binary-generic binary-perarch skipdbg = false
See Also
The above tutorial provides a very simple recipe for creating sources and then consumers. If you want to be sure that you are developing more kernel than you are making configuration changes, here are a few things to look out for:
Download this software and fix your PC in minutes.
Manuale Del Kernel Ubuntu
우분투 커널 매뉴얼
Podrecznik Jadra Ubuntu
Manuel Du Noyau Ubuntu
Ubuntu Karnan Manual
Manual Do Kernel Do Ubuntu
Manual Del Kernel De Ubuntu
Rukovodstvo Po Yadru Ubuntu
Ubuntu Kernel Handbuch
Ubuntu Kernelhandleiding