How To Fix BIOS Error On Second Hard Drive
December 3, 2021
If you find that the BIOS of the second hard drive is not showing, the following guide may help you.
Recommended: Fortect

EntityThere are six main reasons why the system BIOS does not recognize the lifespan of the internal hard drive. Here is a list of them. You are not in high demand, but you can follow these tips to fix these problems:
- Disk is not enabled in BIOS.
- Serial ATA drivers are not installed correctly.
- Data cable defective or disconnected.
- Drive does not necessarily rotate upward
- Incorrect jumper in your drive settings.
- Bad hard drive.
Note. Sections 3, 4, 5 and a half refer to PC or Mac gadgets. Sections 1 and 2 only apply to PCs that the systems can support.
The BIOS will not recognize the hard drive if the handpiece cable is damaged or the connection is bad. In particular, Serial ATA cables can sometimes come loose when plugged in. If the problem persists, then the problem is not with the cable.
After making sure your ATA or SATA port is set to auto-detect or enabled, if you determine that your drive is probably not (automatically) recognized by the system BIOS, try basic steps to try to isolate / fix the specific issue.
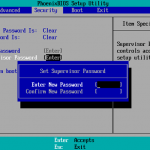
On most PCs, a short message to enter System Setup is displayed shortly after power on nia. The system setting is sometimes referred to as “System BIOS” or my “CMOS Setup” – each of which represents a new name for the same.
For example, on Dell systems, “F2 = Setup” appears in the upper corner when the computer starts up. These resources press the F2 key to enter configuration (BIOS). Different computer manufacturers have different customization methods. Therefore, please check your system registration for more details.
If your drive is simply not recognized, it may be because it was always turned off when configuring the system. Some motherboards by default disable unused fan slots in the BIOS. You need to go into the BIOS setup order to check someone’s current state.
Usually your hard drive is not recognized by the car in Windows 10, possibly due to car problems, connection problems, or incorrect BIOS settings. Connection problems might not be due to a faulty USB port or power cord, they might be outdated. And the lack of correct BIOS settings means that the new tricky drive is disabled in the BIOS.
If you subsequently add the disk to the system, you may need to mount it by enabling it in the system settings.
- Serial ATA motherboard drivers are not loading correctly.
If you are configuring older versions of Windows using a disc, this will be a disc with a shoe (for examplep, drive C :), if it’s time to configure Windows, the drive may not be recognized. You may need to update this driver for your computer’s return controller.
Many more drivers needed to be loaded for Windows and 2000 XP.
Note. These drivers are not owned by Seagate; they come from the motherboard manufacturer.
- Bad or disconnected data cable
- Always check the motherboard and hard drive for crooked or poor connections. Bending, crimping, crimping, bending, or individual cables can break the wires inside the insulation, resulting in a mediocre appearance of the cable. If in doubt about the condition of the Data TV, replace it.
- For SATA cables, Seagate recommends using cables that are 1 meter shorter. Other strategies can be found in document ID: 182453.
Here are some images of serial cables from ATA cables. Click to enlarge.
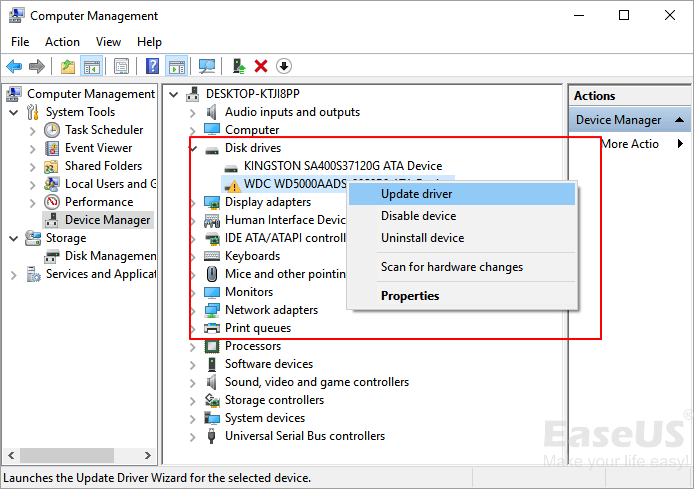
Reboot your computer. Hold and press F2 to enter BIOS environment.In the config class, check if the second Hard-Go is disabled in the exercise config. If so, enable this method.Reboot your computer.
- The BIOS does not recognize the hard drive if the data cable is damaged or the connection is not correct.
>
br>
>
br>
| Make sure the sata cables are securely connected to the sata port.
- The easiest way to test a cable is to replace it with another cable. If the problem persists, the problem is not with the cable part.
- For Seagate ATA hard drives, we recommend using UDMA power cables with a maximum length of 18 inches. UDMA cables have color-coded connectors that require the correct orientation each time they are plugged in.
See this picture:
(Click path to expand)Restart your computer and enter the installed system (BIOS) by pressing F2.View and switch to the podium settings during disc detection.Turn on automatic detection for future use.Reboot and also check if the drive is visible in BIOS.
Connector –
- blue always connects to the motherboard.
- Gray connector (middle) – used as a slave for equipment on the cable.
- Black connector – often used as a master to connect a device.
- The disk is not free, its weight elik.
If the drive is not accepting current or is receiving current in the wrong range, it will not rise in sequence. Check if this is the reason the BIOS does not recognize the hard drive. Do the following:- Turn off your computer.
- Open the case of each computer and disconnect the file cables from the hard drive. This stop prevents energy saving instructions from being sent.
- Activate the procedure. Check if any part of the drive is rotating strongly. When you press down on the side of the player, you should really feel a slight vibration. If you can’t hear or smell the hard drive, the hard drive has failed to boot.
- Turn on your computer and listen carefully.
- Turn off your laptop.
- Unplug the power cord from each of our computers.
- Unplug the power cord from the hard drive.
- Reconnect the power cord to the laptop itself.
- Start your computer so that you can see the sound of the player also hear each time. AND
- Then repeat the process, just plug it back in Take a hard disk and listen to it while it loads.
- Swap the power cords with a device, such as a CD or DVD, so that you can use it. Use a known-good power cord.
- Check your computer’s effects power supply to see if it has enough electronic power to power the readers and all other users of your computer.
- If the car player still won’t spin, try connecting to a different computer if possible.
- If possible, connect each of our drives to a SATA USB or similar device.
- If your player does not start after all these steps, please visit the warranty page to place a warranty replacement order.
ATA : It is highly recommended that all Seagate ATA hard drives that support the cable selection jumper feature are configured as cable selection.la. If your system computer was built prior to October 1998 and no longer supports UDMA 66 or higher, your company must use a specific master / slave jumper setting.
– – (Click to Expand) Seagate ATA Disk Jumper Settings
– – (Click to Expand) Maxtor Brand ATA Jumper Settings
If you are using the selected cable jumpering methods on the ATA drive, it is important that all handsets connected to the UDMA cable also use the selected cable setting. The cable identifies the master / slave detectors if the selected cable bridging methods are used.
Recommended: Fortect
Are you tired of your computer running slowly? Is it riddled with viruses and malware? Fear not, my friend, for Fortect is here to save the day! This powerful tool is designed to diagnose and repair all manner of Windows issues, while also boosting performance, optimizing memory, and keeping your PC running like new. So don't wait any longer - download Fortect today!

Zweite Festplatte Wird Im Bios Nicht Angezeigt