Need To Get Rid Of Directx Stencil Depth Issues
August 22, 2021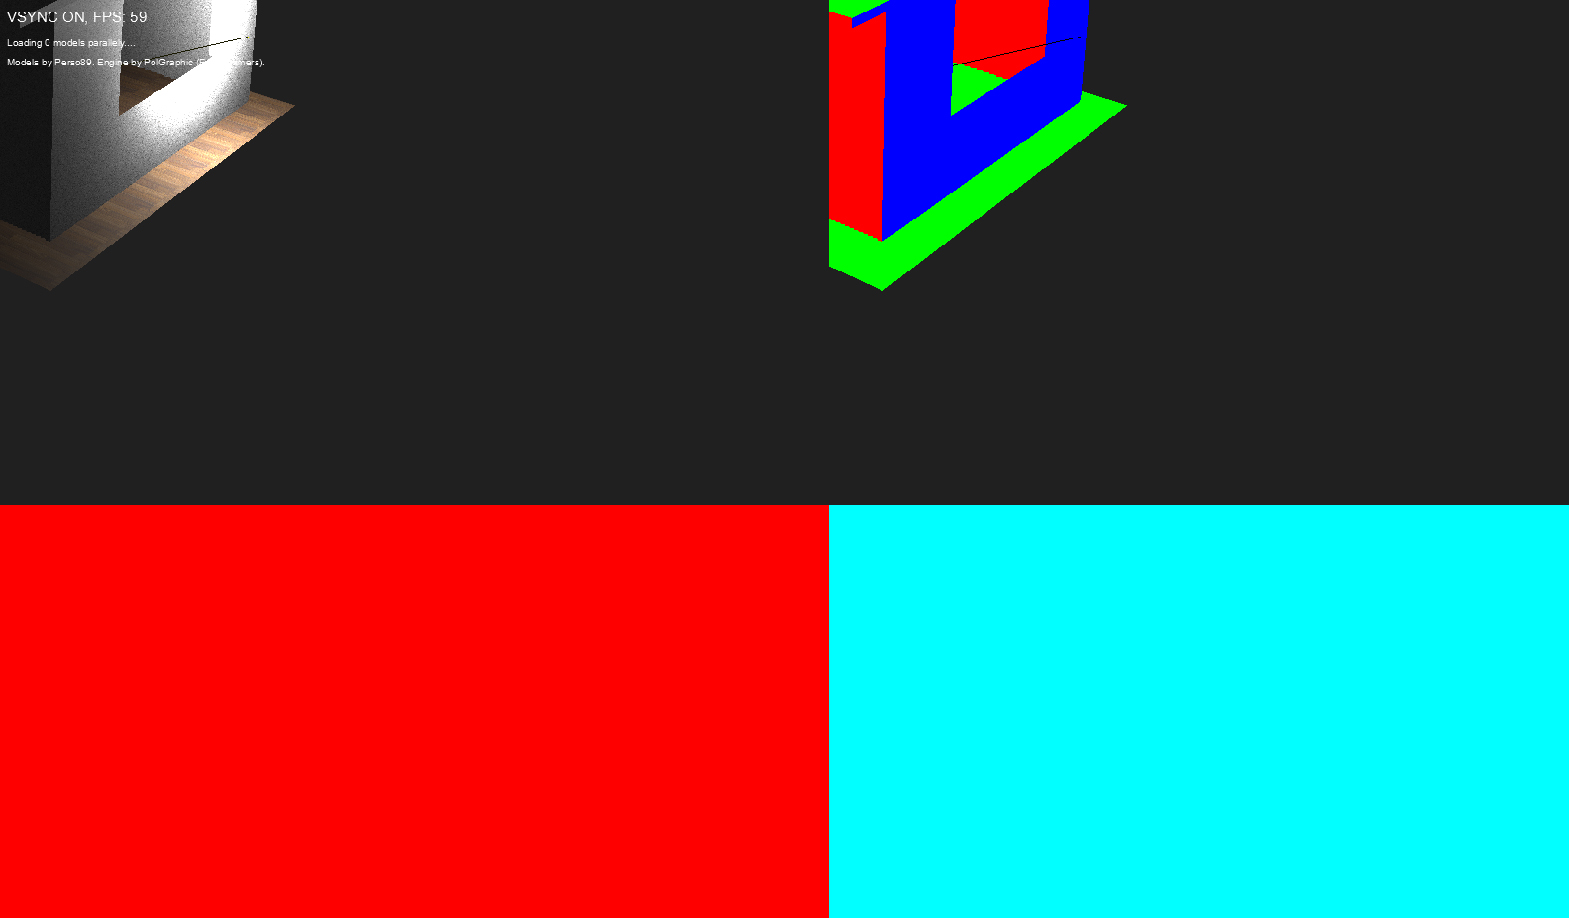
Recommended: Fortect
Today’s guide was created to help you if you receive the Depth Stencil Buffer DirectX error code.
protocol
- 8 to read
This section describes the steps to configure the depth stencil buffer and depth stencil state for the output merge step.
When customers have learned how to use the appropriate depth stencil buffer and depth stencil phase, check out advanced stencil techniques .
Create A Deep Model For Each Resource Type
ID3D11Texture2D * pDepthStencil = NULL;D3D11_TEXTURE2D_DESC desc depth;descDepth.Width means backBufferSurfaceDesc.Width;descDepth.Height = backBufferSurfaceDesc.Height;descDepth.MipLevels = 1;descDepth.ArraySize is 1;descDepth.Format = pDeviceSettings-> d3d11.AutoDepthStencilFormat;descDepth.SampleDesc.Count = 1;descDepth.SampleDesc.Quality means 0;descDepth.Usage = D3D11_USAGE_DEFAULT;descDepth.BindFlags = D3D11_BIND_DEPTH_STENCIL;descDepth.CPUAccessFlags is 0;descDepth.MiscFlags 0;Hr = = pd3dDevice-> CreateTexture2D (& descDepth, NULL, & pDepthStencil); Create A Report With Depth Template
The status of the deep model instructs to validate the deep model during the output fusion step. The depth stencil test determines whether a specific pixel should be executed.
D3D11_DEPTH_STENCIL_DESC dsDesc;// depth test parametersdsDesc.DepthEnable True;dsDesc.DepthWriteMask = D3D11_DEPTH_WRITE_MASK_ALL;dsDesc.DepthFunc = model d3d11_comparison_less;// experiment parametersdsDesc.StencilEnable = true;dsDesc.StencilReadMask = 0xFF;dsDesc.StencilWriteMask matches 0xFF;// stencil operations when pixels are facing forwarddsDesc is.FrontFace.StencilFailOp = D3D11_STENCIL_OP_KEEP;dsDesc.FrontFace.StencilDepthFailOp = D3D11_STENCIL_OP_INCR;dsDesc.FrontFace.StencilPassOp is D3D11_STENCIL_OP_KEEP;dsDesc.FrontFace.StencilFunc = D3D11_COMPARISON_ALWAYS;// stencil operations on the instance pointing pixels backdsDesc est.BackFace.StencilFailOp = D3D11_STENCIL_OP_KEEP;dsDesc.BackFace.StencilDepthFailOp corresponds to D3D11_STENCIL_OP_DECR;dsDesc.BackFace.StencilPassOp = D3D11_STENCIL_OP_KEEP;dsDesc.BackFace.StencilFunc = D3D11_COMPARISON_ALWAYS;// create the state of the depth templateID3D11DepthStencilState * & pDSState); DepthEnable pDSState;pd3dDevice-> CreateDepthStencilState (& dsDesc and also enables (and disables) StencilEnable size and template tests. Set DepthEnable to help FALSE to prevent depth and tranny) portable means to prevent screen recording from depth. Set StencilEnable to FALSE to remove stencil tests and disable writing to the stencil buffer (if DepthEnable is possible and false StencilEnable is TRUE, an accurate depth test will always pass the current stencil operation).
DepthEnable only affects the entire merge phase of the output – it does not change any values related to clipping, depth offset, or compression until the data affects the pixel shader.
Link Depth Model Data To OM Level
// model of the link detail 1); State
D3D11_DEPTH_STENCIL_VIEW_DESCpDevice-> OMSetDepthStencilState (pDSState, descDSV;descDSV.Format = DXGI_FORMAT_D32_FLOAT_S8X24_UINT;descDSV.ViewDimension = D3D11_DSV_DIMENSION_TEXTURE2D;descDSV.Texture2D.MipSlice = 0;// Create a real representation of the depth patternID3D11DepthStencilView * pDSV;hr corresponds to pd3dDevice-> CreateDepthStencilView (pDepthStencil, // stencil texture depth & descDSV, // description of the depth model & pDSV); // [out] view the depth model// bind the information model viewpd3dDeviceContext-> OMSetRenderTargets (1, // Render Target View& pRTV, // make the target view created earlier pDSV); // View the depth model for the set target 
An array of render target views can be passed to ID3D11DeviceContext :: OMSetRenderTargets , but virtually all of these render target views are likely to match a single depth pattern check. A render target in Direct3D 11 is a feature that allows an application to simultaneously render to multiple legacy render targets. Render target arrays provide better performance than individually setting render targets with multiple calls to ID3D11DeviceContext :: OMSetRenderTargets (mostly a method used in Direct3D 9).
All render targets must be of the same resource type. When using multisample anti-aliasing, all linked targets, render targets, and depth buffers must have the same number of samples.
When considering a buffer as a render target, template depth analysis and multiple render targets may not be validLive.
- Up to 8 render targets can be linked at a time.
- All existing targets must have the same meaning in all dimensions (width and structure, depth for 3D or system size for array types *).
- Each render job can have its own statistics format. Masks
- Record management of data written to the render target. Result write masks manage component-level data for a specific render target, resulting in writing to the render target (s).
Advanced Techniques
The stencil portion of the main depth stencil stamp can be used to create rendering effects such as composition, decals, and outlines.
Collect
Your software package can use a stencil stamp to stitch 2D or 3D images into a 3D scene. For plthe stencil area uses a mask – covers the target area on the rendering surface. Stored 2D information such as text or bitmaps will definitely be recorded in a classified industry. Alternatively, your application can render several other 3D primitives in a stenciled area of the render target surface. It can even make the scene complete.
Games often combine several three-dimensional conditions. For example, in games it is common to look at the rearview mirror while driving. The mirror is a view of the 3D background behind the driver. This is more or less the second 3D scene, consisting of the driver’s front view.
Stickers
Direct3D applications use decals to control which pixels move from a particular primitive image to the render target. Application stickers are applied to images in primitives to ensure correct rendering of coplanar polygons.
For example, if you place curb markings and yellow lines on the right lane, the markings should appear Stay right above the road. However, the z values for the white markers and the road are the same. Thus, the depth of the pillow can hardly create a clear separation between the two. For some pixels, the top back primitive may appear at the same level as the front primitive, and vice versa. The resulting image looks flickering.
Recommended: Fortect
Are you tired of your computer running slowly? Is it riddled with viruses and malware? Fear not, my friend, for Fortect is here to save the day! This powerful tool is designed to diagnose and repair all manner of Windows issues, while also boosting performance, optimizing memory, and keeping your PC running like new. So don't wait any longer - download Fortect today!

Download this software and fix your PC in minutes.
Buffer Stencil Di Profondita Directx
Diepte Stencil Buffer Directx
Profundidade Stencil Buffer Directx
깊이 스텐실 버퍼 Directx
Profondeur Stencil Buffer Directx
Bufer De Plantilla De Profundidad Directx
Tiefe Schablonenpuffer Directx
Djup Stencilbuffert Directx
Bufor Szablonu Glebokosci Directx
Bufer Trafareta Glubiny Directx